Someone recently asked how I shoot all my blog photos, who takes them, and whether I shoot with a DSLR or iPhone. Since I’ve been shooting for so long now (11-years to be exact) a lot of my “photo skills” now come to me instinctually. So I thought it’d be fun to share the secrets behind all my blog photos.
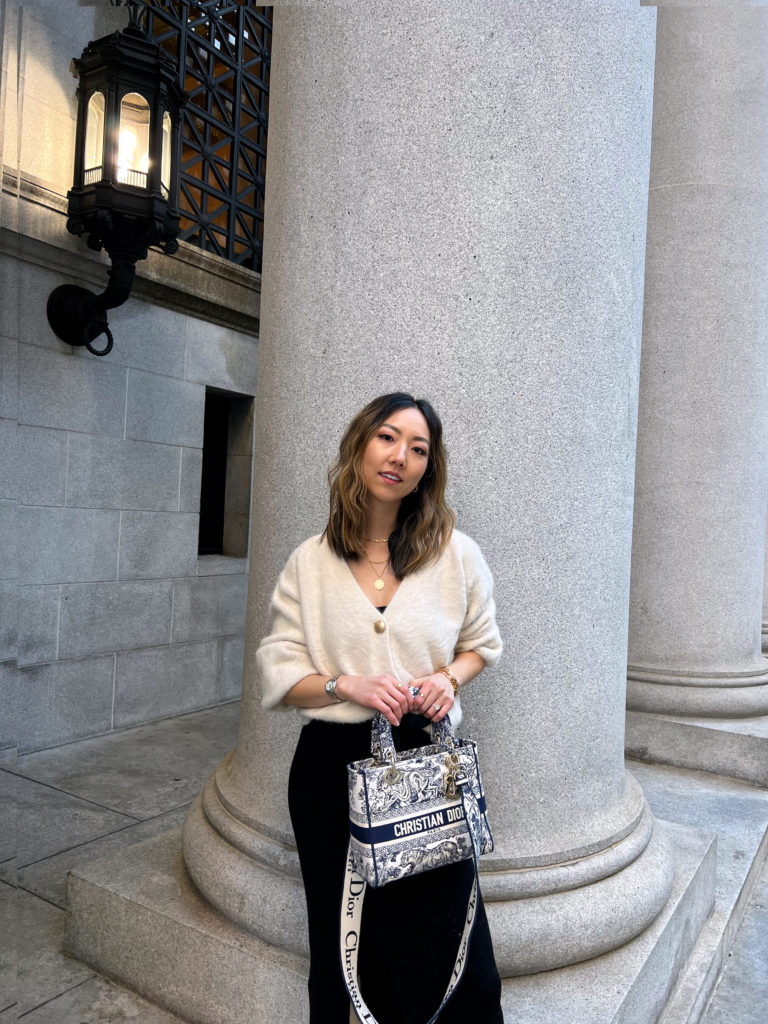
What do you use to shoot?
All my photos are taken with my iPhone13 Pro. I’ve become that person that upgrades my iPhone every year because the camera and video quality is so worth it. The trend these days is to take photos that appear more untouched and effortless too, so shooting with an iPhone helps achieve that natural aesthetic. I also love how fast you can snap photos, the live feature, and how convenient it is to have everything on your phone. I used to shoot with my LeicaQ but stopped using it last year.
Who takes my blog photos?
In this order of frequency: my blogger friends, a tripod, Josh. A lot of people are surprised to know that Josh doesn’t take the majority of my photos. He used to, but after a few years it started to become a chore to him and I didn’t want to burden him with it anymore. So I started taking photos with my influencer friends which is a lot more fun, plus mutually beneficial. I’ve been lucky to make really good local influencer friends (shout out to @ephemeralfox & @justinavanessa) and we’ll meet up on weekends, catch-up, and batch shoot a ton of content to drip out for the week.
How do you take your own photos?
Most of my at-home shoots and almost all my videos are taken self-timer with a tripod. Josh built me an auto-cam app that continuously shoots self-timed photos until I tell it to “stop”. He later discovered that another app exists that also does this; Lens Buddy. Lens Buddy is great because it’s free and also constantly shoots photos until you make it stop. Almost all my at-home shoots are taken with a tripod and this app. It’s also great for group and family photos when there’s no-one around to take that perfect shot.
How do you edit your photos?
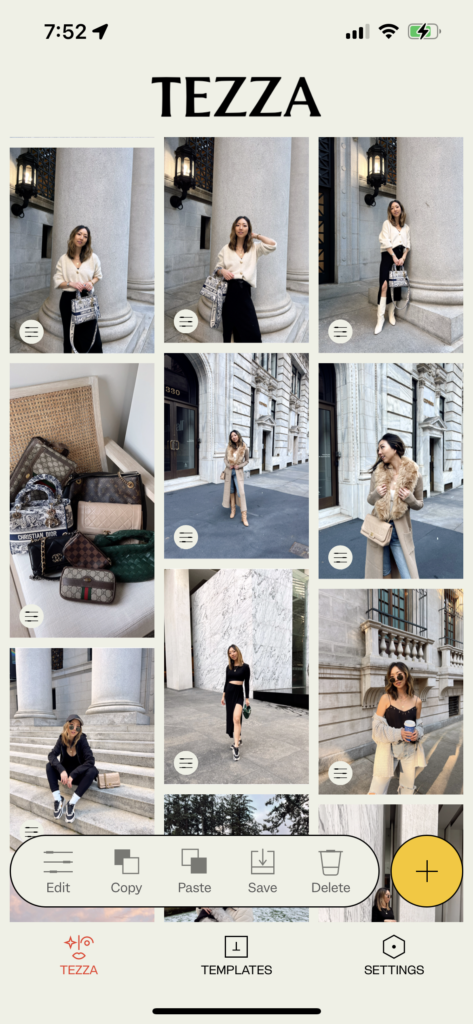
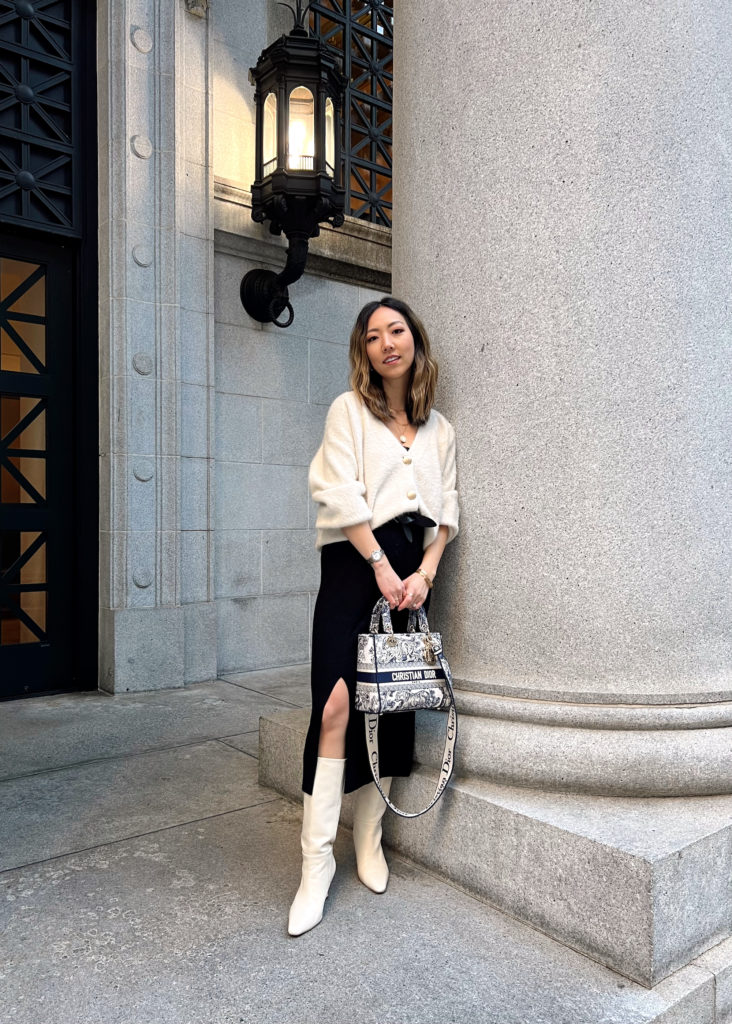
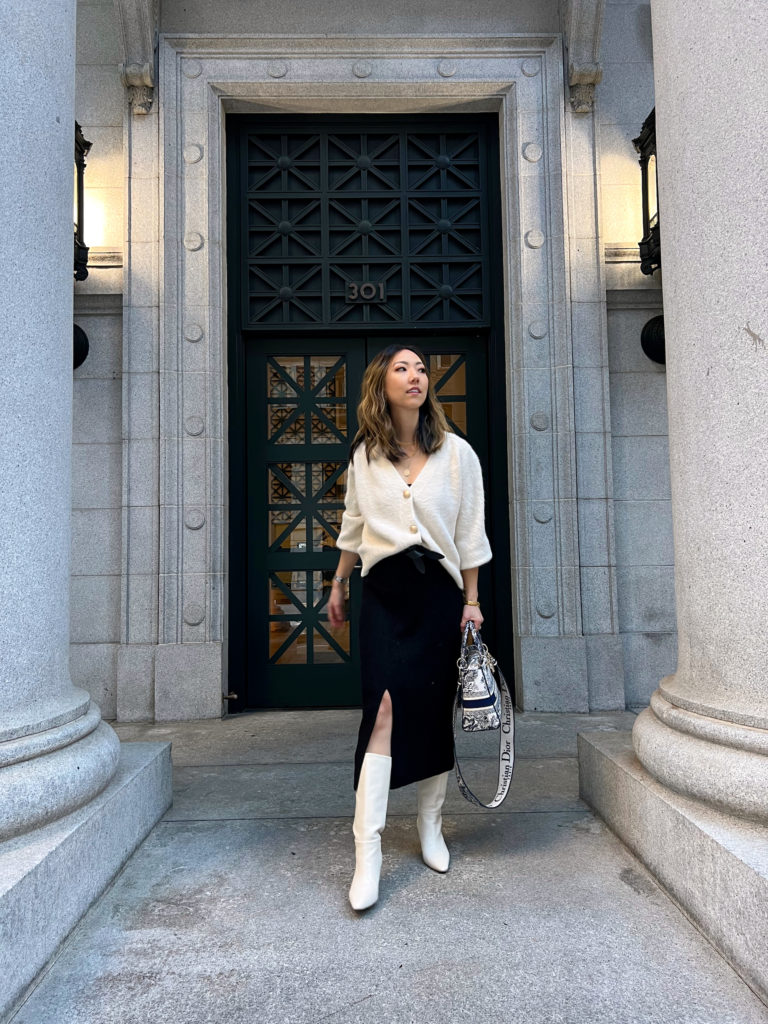
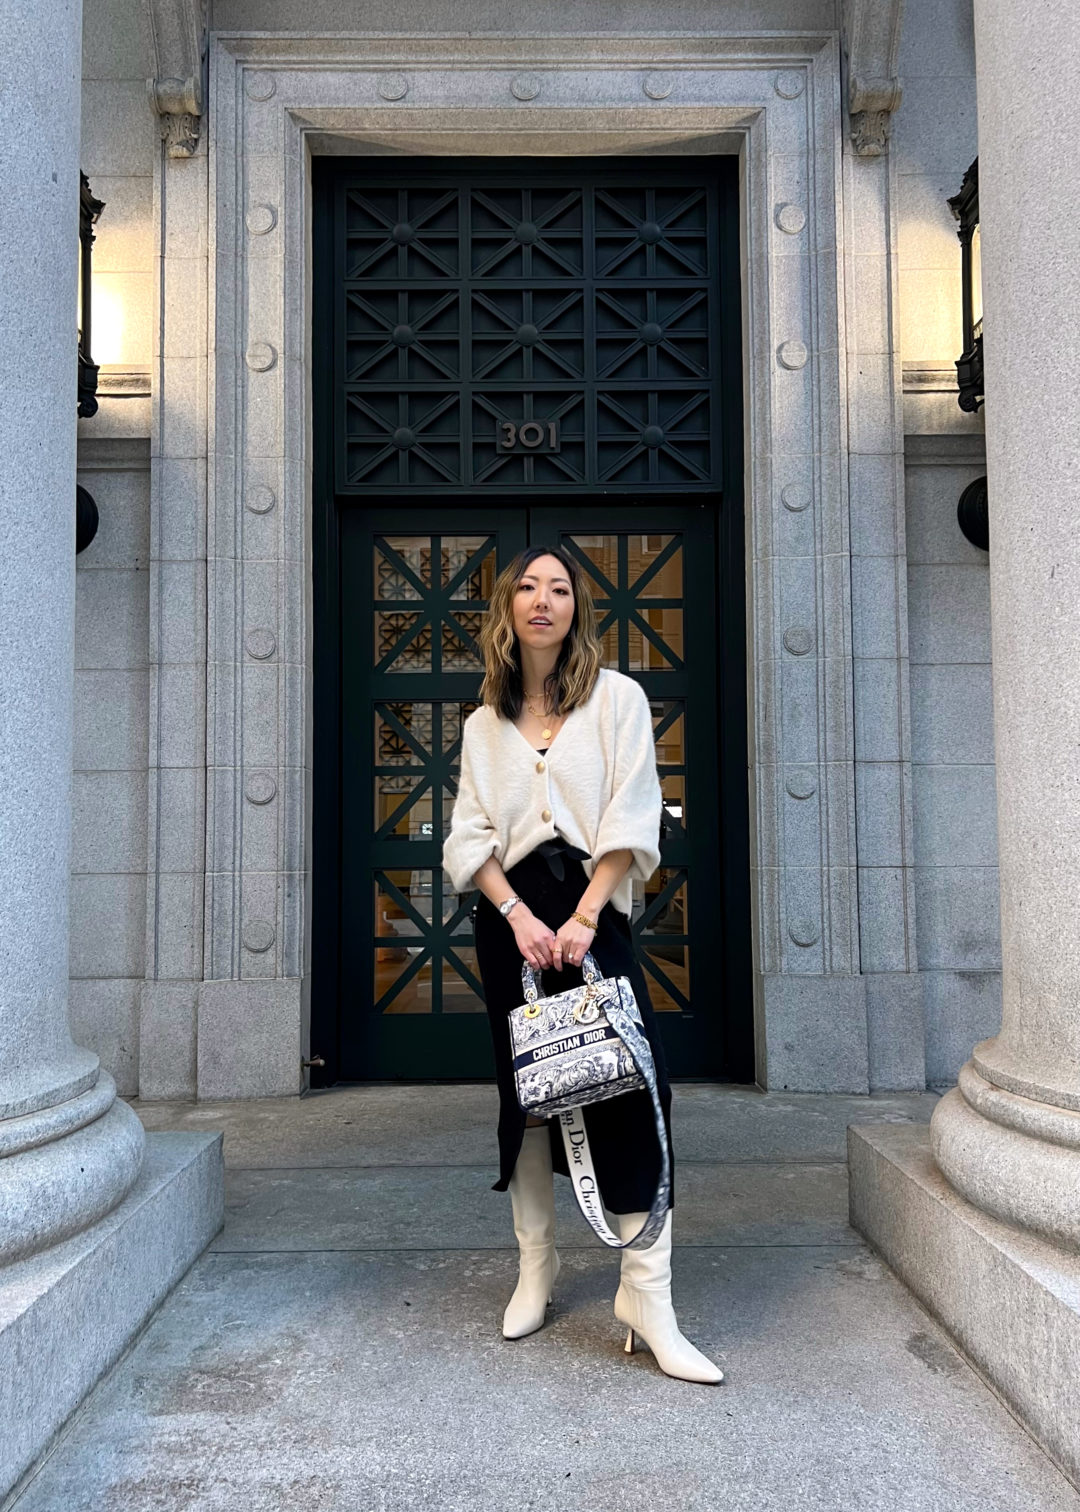
I’ve been using Tezza app for 3-years and still think its one of the best photo editing apps for influencers. I love Tezza’s selection of filters (although I only use Vintage 2 or Vintage 3) and how easy it is to edit photos. My Lightroom skills were never that good (Josh actually edited most of my photos before), so being able to quickly and easily edit photos through an intuitive app was game-changing for me. Outside of the filters, my other favorite feature about the Tezza app is you can copy edits from 1 photo and paste them directly onto another photo. So whenever I have multiple shots with the same lighting and background (like all the photos in this post), I edit one photo, paste those same edits to the other photos (see top row of photos below), then do minor tweaks.
Do you plan your feed?
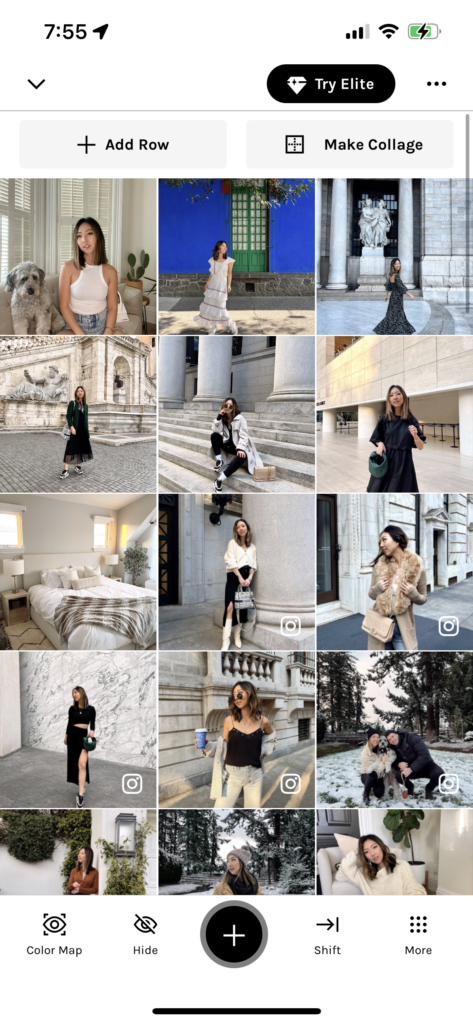
Yes, but I’m not strict about it. I try to plan my feed a week ahead of time with photos I shot from the previous week. I use an app called UNUM to upload photos I plan to post, and organize when to post each one based on how it looks in grid on my Instagram. I try to mix up the order with full-length body shots, close-ups, and different poses to keep my feed dynamic. I also use UNUM to keep track of photos I plan to post later by adding them in, but keeping them on the top row. Below you can see which photos have already been posted on my Instagram (has the IG logo over the photo on the bottom right corner), and what photos I plan to post next. I don’t always follow this order though and like to keep it flexible.
Any other photo and posting secrets to share?
- To stay organized, if you shoot with your iPhone “heart” all your favorite photos so they automatically go in a “Favorites” album. This makes it easy and less overwhelming to review photos later when you’re ready to select, edit, and post.
- If you don’t know which photo to post, ask a friend, look at them later, or do a carousel. I find that it helps to look at things with a fresh set of eyes, so if I can’t decide what to post I’ll look at them the next day.
- If you shoot with an iPhone, shoot in live mode. Not only is it cool to turn photos into a video, but if you don’t end up finding a photo you like you can watch the live video and select which portion of that video to convert into a photo. This is especially helpful for shooting pets, babies, and other moving objects.
- Sometimes photos need a bit more beauty retouching. While I don’t advocate for it, I admit I do use it when I feel like I look more haggard. The 2 apps I like are AirBrush and FaceApp.
I hope this “behind the scenes” of how I shoot, edit, and post my photos helped demystify some questions you may have about influencers and our photo process. Thanks for reading!

You must be logged in to post a comment.